Downloading and saving Netflix videos to an external hard drive is a smart way to enjoy flexible offline playback. By using a professional Netflix video downloader, you can easily download Netflix content on your laptop or Mac in universally compatible formats like MP4. This approach enables you to transfer them to an external hard drive for long-term storage.
Below, we’ll provide a detailed, step-by-step guide to help you download Netflix movies to external hard drive and build your Netflix movie library with ease while freeing up space on your device.
🌞 Also Read: How to Download Movies from Netflix to USB Drive
Can I Download Netflix Movies to an External Hard Drive Directly?
The short answer is No. Netflix does not officially allow transferring or moving downloaded titles outside of the Netflix app. All downloads are encrypted and locked within the app to protect licensing agreements. It means even if you locate the offline download files on your device, they cannot be simply copied or played on an external hard drive or other media players.
Luckily, there are workarounds and alternative methods that you can look into. Some options may come with their own risks, including quality loss, limited features, or even potential violation of Netflix’s terms of service. But in the following part, we will recommend an ultimate choice with the best Netflix movie downloader. Just keep reading and learning how to download Netflix movies to PC/external hard drive now!
Note: Make sure you only download Netflix movies for personal use.
Section 1. Download Netflix Movies to External Hard Drive Directly
To save Netflix videos directly to an external hard drive, you’ll need a powerful and reliable third-party tool. Enter MovPilot Netflix Video Downloader, the ultimate solution for hassle-free downloading.
With MovPilot, you can flexibly download Netflix movies and TV shows in stunning 1080P quality, choosing from MP4 or MKV formats. The tool allows you to save Netflix content directly to your hard drive, ensuring your favorite titles are always accessible without restrictions. Plus, all downloads are DRM-free, so you can transfer them to any device or media player for unlimited viewing. Just enjoy Netflix the way you want!

Here comes a detailed tutorial for you to save Netflix movies to external hard drive with MovPilot:
STEP 1. Get the MovPilot Video Downloader Ready
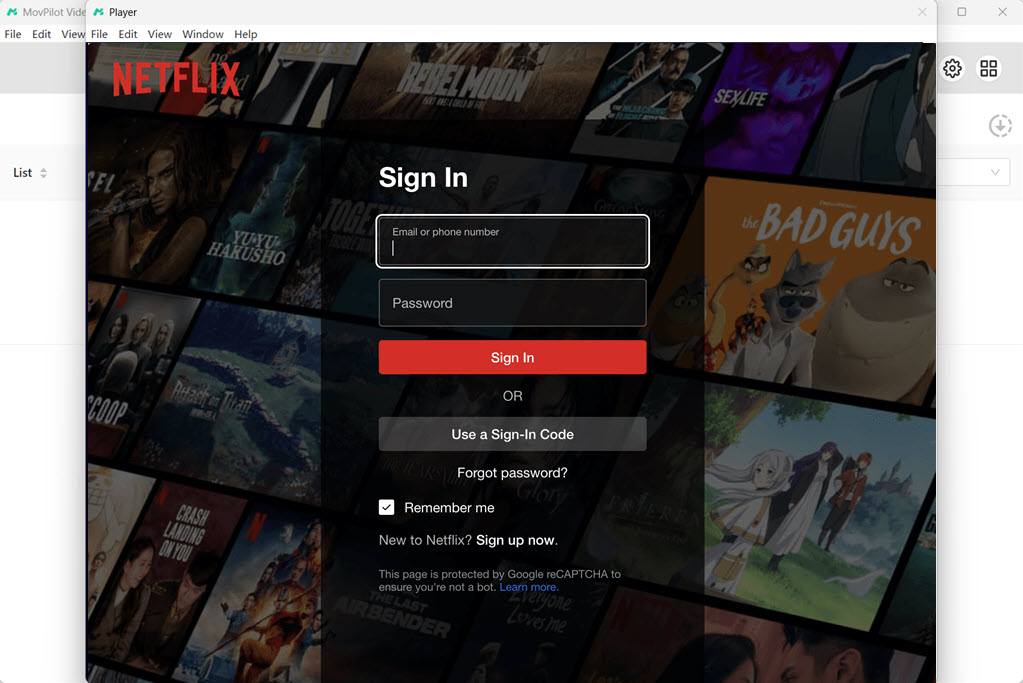
Download, install, and run MovPilot Netflix Video Downloader on your computer. Log in with an active Netflix account.
STEP 2. Connect Your External Hard Drive. Set Output Folder.
Connect your external hard drive to the computer.
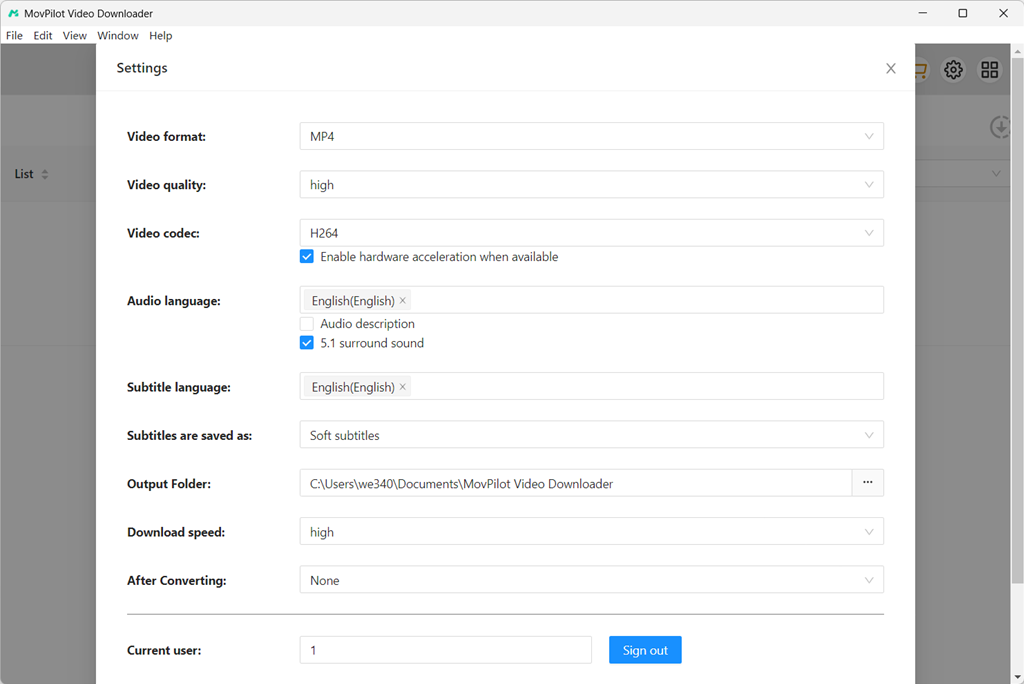
Click the Settings button on the top right corner of MovPilot, set your external hard drive as the output folder. Thus MovPilot can directly save Netflix movies to hard drive.
STEP 3. Search for Netflix Videos You Want
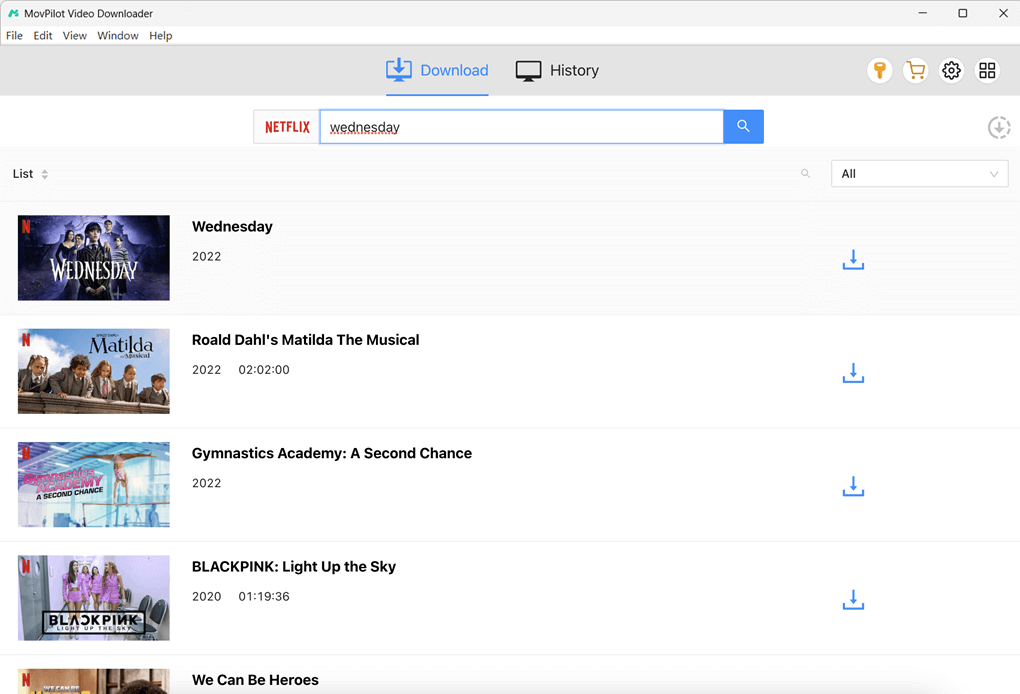
You can enter the name of the movies or TV shows you want in the search box, or you can copy and paste the URL of Netflix movies or TV shows to the search box to get the movies.
STEP 4. Download Netflix Movies to External Hard Drive
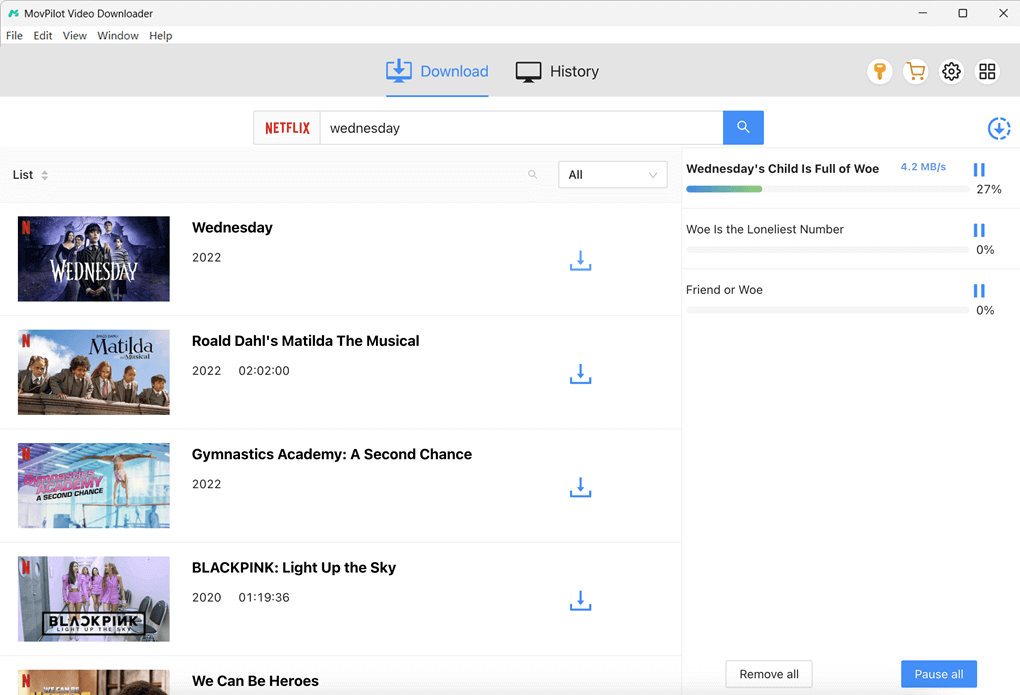
For a single movie or TV show, click the download button to download it directly.
For TV shows with multiple episodes, click the download button and then select the episodes you want to download.
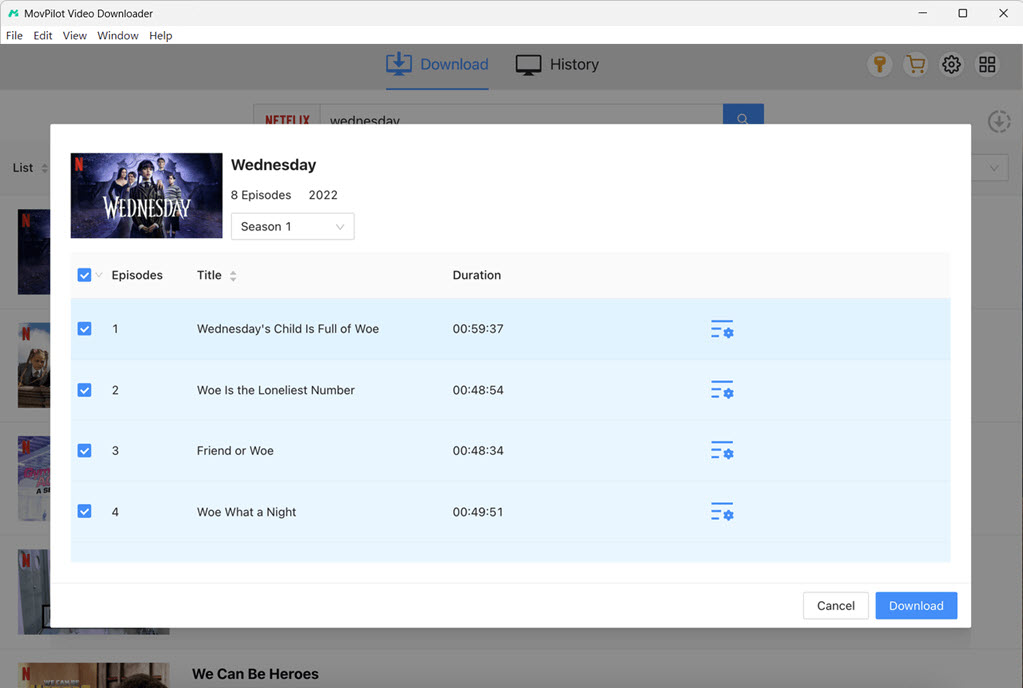
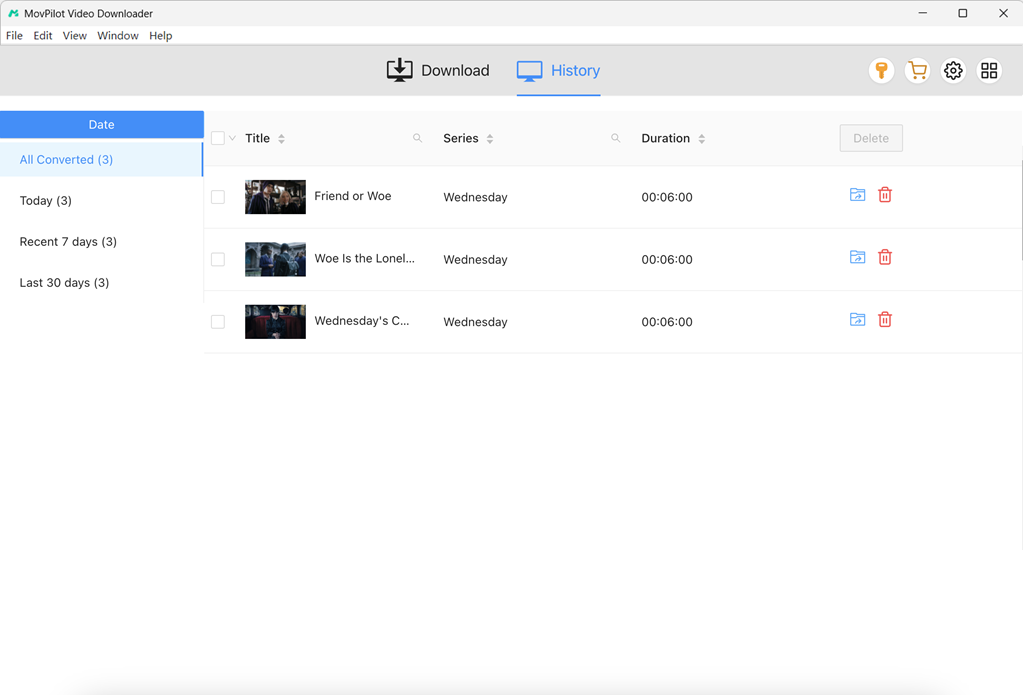
Immediately, MovPilot will download Netflix movies to external hard drive for you. Check your downloads in “History”. You can click the blue folder icon to locate the Netflix video downloads on your external hard drive for offline viewing.
Bonus: Full Video Walkthrough
Section 2. Download and Transfer Netflix Movies to External Hard Drive
If you don’t want to connect your external hard drive to computer during downloading to avoid overheating issues, you can use the best Netflix video downloader-MovPilot to download Netflix movies to MP4 to your computer storage first, and then transfer Netflix movies to hard drive.
Step 1. Download, install, and launch MovPilot Netflix Video Downloader on your computer. Log in to Netflix with your subscribed account
Step 2. Search for desired Netflix movies, and download them to your computer. For detailed steps, jump to Part 1.
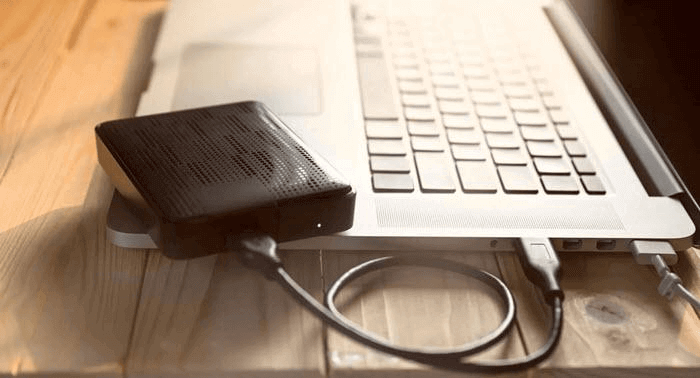
Step 3. After the videos are downloaded to your computer, connect your external hard drive to the computer. Go to MovPilot’s History tab, click the Folder icon to locate the downloaded videos on your computer.

Step 4. Move the downloaded video files from your computer to the external hard drive folder.
FAQs About How to Download Netflix Movies to External Hard Drive
What devices are best for watching Netflix offline?
Devices like smartphones, tablets, and laptops that support the Netflix app are all good choices. iOS and Android devices are especially convenient because you can download movies and shows directly through the Netflix app and watch them anywhere without an internet connection. Just noted that smart TVs and most streaming devices don’t support offline viewing.
Can I screen mirror Netflix movies to the TV for playback?
Screen mirroring Netflix to a TV is often restricted. Many devices and apps will block the video due to Netflix’s DRM protections. If you want to watch Netflix on a bigger screen, you could use the official Netflix app on your smart TV, streaming device like Chromecast or Roku, or connect your laptop to the TV with an HDMI cable. These methods ensure stable playback and avoid black screens that usually occur with mirroring restrictions.
The Bottom Line
Although it seems impossible to save your favorite Netflix videos to an external hard drive, especially when the download feature has been cut down on the Netflix Windows app, you can turn to dedicated Netflix video downloader. MovPilot Netflix Video Downloader is a trustworthy tool you can try. It can help you save Netflix videos to your hard drive in high quality, freeing up PC storage and ensuring permanent access.
MovPilot Netflix Video Downloader
Download Netflix Movies and Shows to Watch Offline Easily!


